Vinyl Window Tight In Casing Sides

Leaks And Problems With Vinyl Windows Chicago Window Expert

Pin By Sora Art On Studio In 2020 Interior Window Trim Window Molding Trim Interior Windows

Reflections Pvc Window Surrounds Garden State Lumber Outdoor Window Trim Window Trim Exterior Diy Window Trim

Pvc Vinyl Window Casing Repair Window Vinyl Vinyl Siding Window Casing

Interior Vinyl Windows Google Search Window Trim Vinyl Window Trim Diy Window Trim

Clever Techniques To Upgrade The Look Of Vinyl Windows Vinyl Window Trim Window Vinyl Easy Home Upgrades

Nail the trim to the jamb with 1 in.
Vinyl window tight in casing sides.

The Basics Of Replacement Windows Diy Window Replacement Windows Installing Replacement Windows

Exterior Window Trim Kits Jpg 600 233 Pixels Window Trim Exterior Windows Exterior Exterior Window Trim Kits

All About Wood Windows Wood Windows Single Hung Windows Remodel
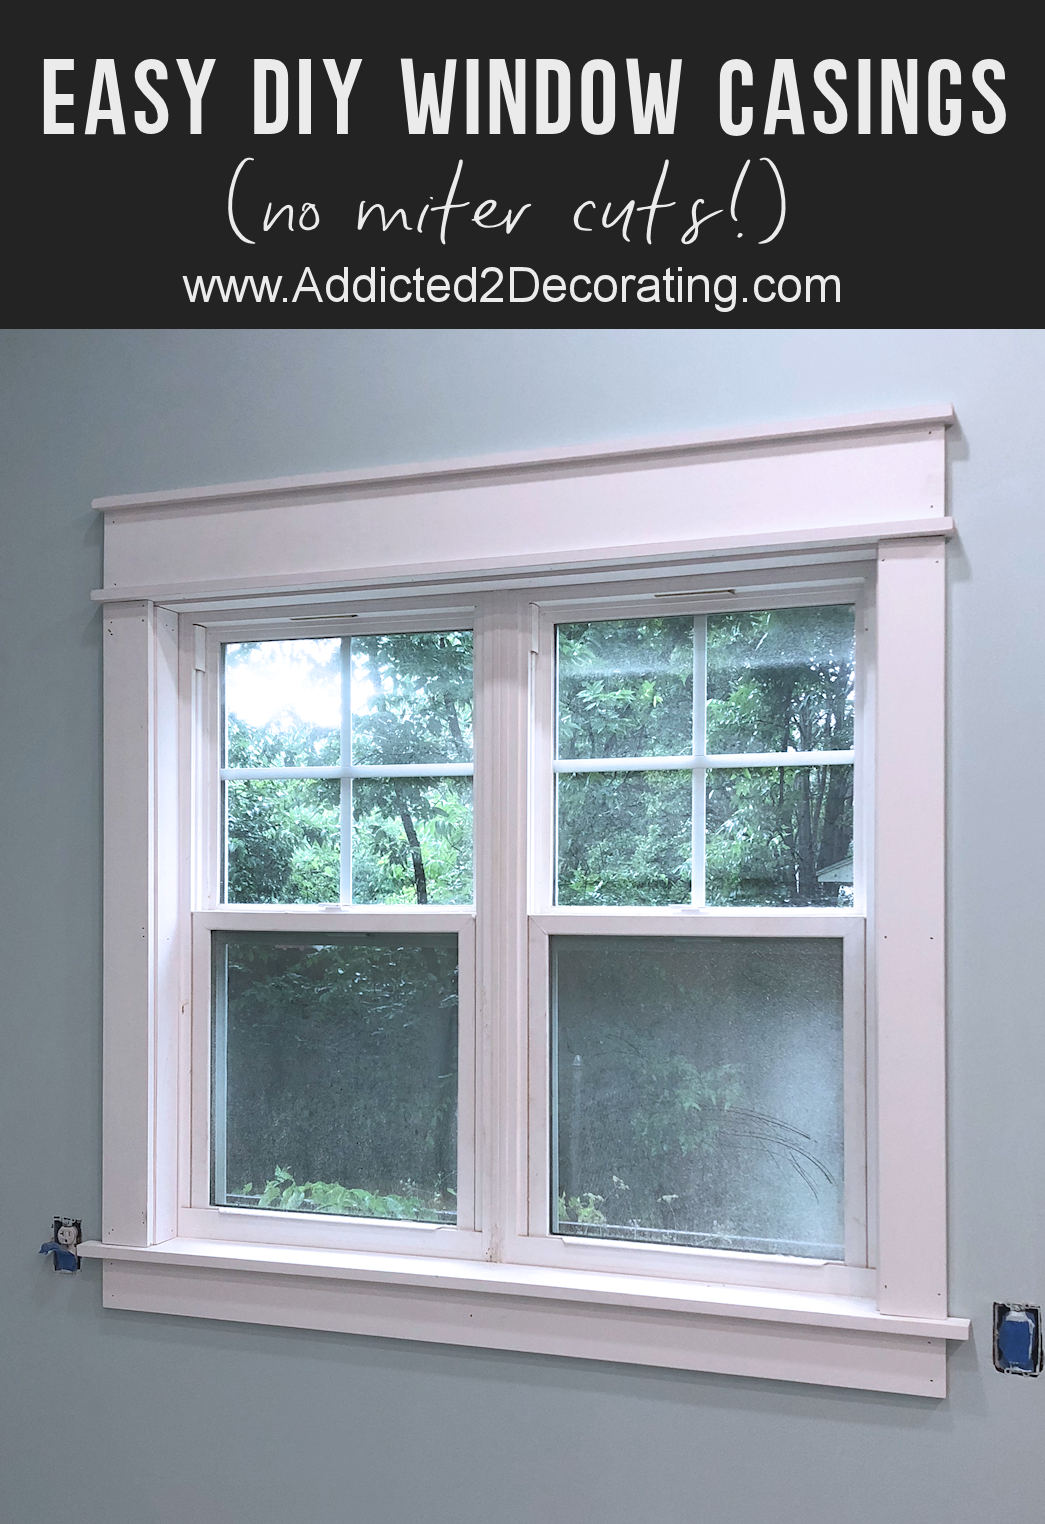
Easy Diy Window Casings No Miter Cuts Addicted 2 Decorating
Source : pinterest.com
